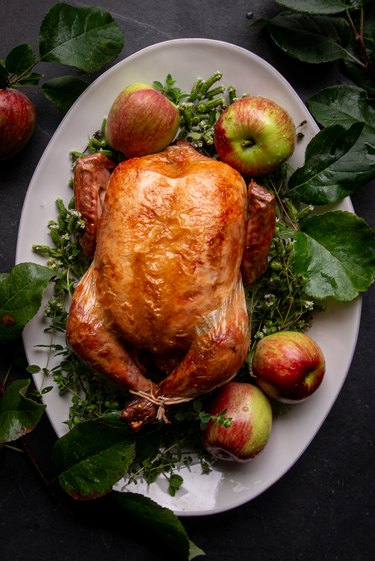
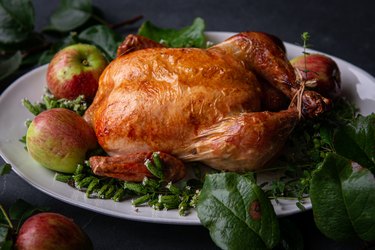
Now that fall has arrived, it's time for some fall baking! For something that just seems like a special occasion meal, this is an incredibly easy recipe. It's also a bonus that it's really inexpensive. This delicious apple cider roast chicken is the perfect way to celebrate even the smallest occasion.

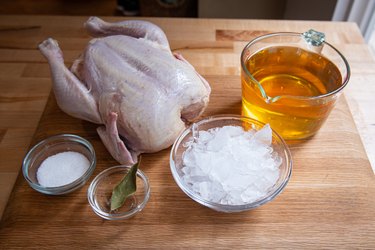
Things You’ll Need
-
6-8 cups apple cider
-
3 tablespoons kosher salt, plus additional
-
1 bay leaf
-
2 cups crushed ice
-
1 whole (5-6 lbs) roasting chicken
-
2 tablespoons olive oil
Step 1: Dissolve the Salt
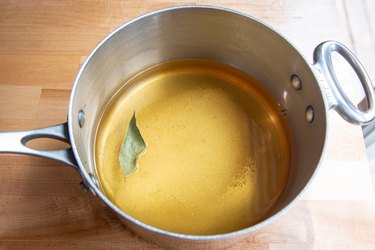
Add 3 cups apple cider, salt, and bay leaf to a pot over medium heat. Stir until the salt dissolves, then remove from heat.
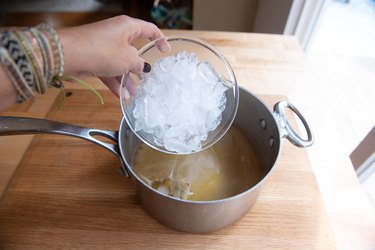
Step 2: Cool the Brine
Add the ice, stirring until the brine has cooled. (You don't want to add a raw chicken to warm brine or it will start to cook, causing a potential issue with bacteria. Always add raw chicken to cool brine.)
Step 3: Bag the Chicken
Add the chicken to a brine bag, large Ziploc or a large bowl.

Step 4: Add the Brine
Pour the brine over the chicken and refrigerate for 12-24 hours.
Tip
If you're worried about the bag leaking, add the bagged chicken to a large pot or roasting pan while in the refrigerator.

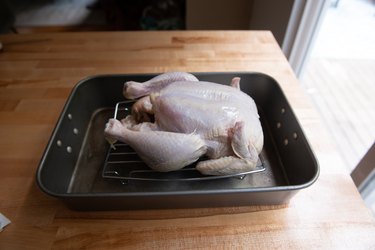
Step 5: Remove from Brine
Preheat oven to 400°F. Remove the chicken from brine, rinse and add to a rack in a roasting pan.
Step 6: Oil and salt the chicken
Brush the chicken with olive oil, sprinkle with salt.

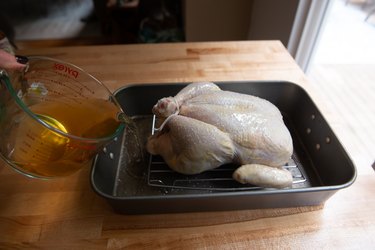
Step 7: Cider the pan
Add 3 cups of cider to the bottom of the pan.
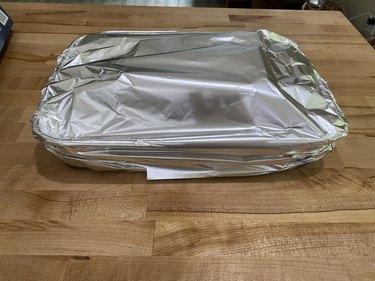
Step 8: Foil
Cover with foil, making sure to tent the foil over the chicken so that the foil does not touch the chicken. Bake for 20 minutes.

Step 9: Remove foil
Remove the foil and continue to bake until the chicken is cooked through (to 165°F) and is golden brown, about an additional 20-35 minutes. If the chicken starts to brown too much before cooking through, add the foil back over the chicken. Enjoy!