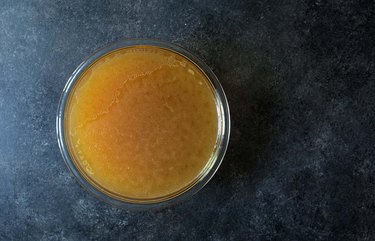
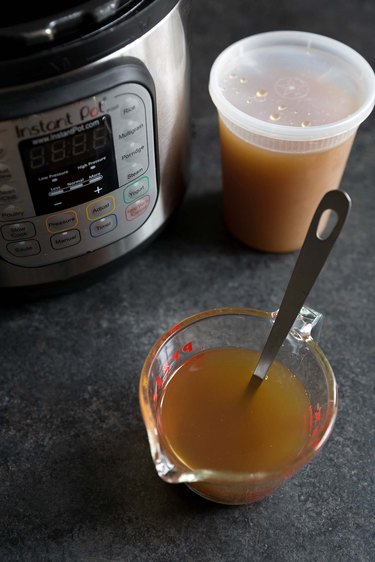
The Instant Pot is an all-in-one kitchen wiz that's been taking the cooking world by storm for a few years now. It's quite the machine: a pressure cooker, slow cooker, rice cooker, yogurt maker, and sauté pan. Surprisingly, it does all of these things quite well. One of my favorite things to do with the Instant Pot is make chicken stock. What traditionally takes 8 hours of simmer time is ready in an hour (not counting time needed to chill the stock at the end). You want a time saving technique? Look no further.

Things You’ll Need
-
3 to 4 pounds raw chicken wings
-
2 yellow onions, quartered
-
2 ribs celery, halved
-
2 carrots, halved
-
a handful of fresh parsley
-
5 to 6 black peppercorns
-
2 to 3 garlic cloves
-
Instant Pot
Step 1: Gather your ingredients and tools.
Chicken wings are an excellent option for stock because they're full of collagen. Collagen is what makes homemade stock different from what you'll find packaged for sale in stores; it gives sauces a rich, gelatinous quality. However, you don't need to use wings. Any raw chicken bones will work. The remaining ingredient quantities don't need to be exact. You can omit the garlic, add some leeks or bay leaves… the only thing you definitely don't want to add is salt. Stock should always be free of salt so that the recipes you decide to use it in (soups, sauces, stews, etc.) can be seasoned to taste.


Step 2: Place ingredients in the Instant Pot.
Place the wings in the bottom of the Instant Pot. Top with the onions, celery, carrots, parsley, peppercorns and garlic cloves. Fill to the max line with water.

Step 3: Set for 60 minutes on manual.
Close the lid, making sure the top valve is set to "Sealing." Turn the Instant Pot on and press the manual button. Adjust the time to 60 minutes. Allow the stock to cook. Once it's finished, you can either release the pressure from the top valve or allow it to release naturally, which will take another 20 minutes or so.

Step 4: Strain the solids.
Place a fine mesh strainer over a bowl. Strain the stock and discard the solids.

Step 5: Chill to separate the fat.
Cover the stock and place in the refrigerator to chill. This will allow the fat to rise to the surface. If you're in a hurry, you can speed up the process by using several smaller bowls.

Step 6: Skim the fat from the surface.
Once the stock is cold, use a ladle to skim and discard the fat from the top.

Step 7: Use or store chicken stock.
Transfer the stock to storage containers. It will keep in the refrigerator for 3 to 4 days, the freezer for 3 to 4 months, or it can be pressure canned indefinitely. Note: pressure canning is not the same as water-bath canning.


