Few can resist the deliciousness of a Reese's Peanut Butter cup. Lightly sweetened peanut butter wrapped in a delicate chocolate shell—what's not to like? Well, in just a few easy steps, you can duplicate this classic treat right at home. One bite, and you'll be smitten.
 Finished peanut butter cups Image Credit: Kristan Raines
Things You’ll Need
-
3/4 cup milk chocolate chips
-
4 oz. bittersweet chocolate bar, finely chopped, (1)
-
½ cup creamy peanut butter
-
1/4 cup + 1 tablespoon powdered sugar, sifted
-
1 ½ tablespoons unsalted butter, melted
-
¼ teaspoon vanilla extract
-
1 small ziplock bag
-
12 cup muffin pan
-
12 foil cupcake liners
Step 1
Add both chocolates to a medium bowl and melt either over a double boiler or in the microwave. If using a microwave, melt the chocolate in 20-second increments, stirring each time until melted.
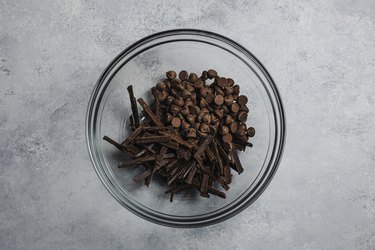 Melting chocolate Image Credit: Kristan Raines
Step 2
Line the muffin pan with the foil liners. Spoon about 1 teaspoon of the melted chocolate, or enough to just barely cover the bottom, into each muffin liner. Use the spoon to spread a little bit of the chocolate up the sides of the liners. Place in the refrigerator or freezer for 10 minutes, or until the chocolate sets.
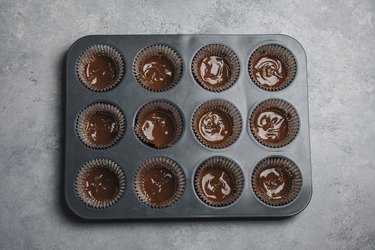 Liners filled with chocolate Image Credit: Kristan Raines
Step 3
Meanwhile, add the peanut butter, powdered sugar, melted butter, and vanilla to a small bowl and mix together until smooth. Place the filling in a ziplock bag, squeeze out the air, and cut off one the corners.
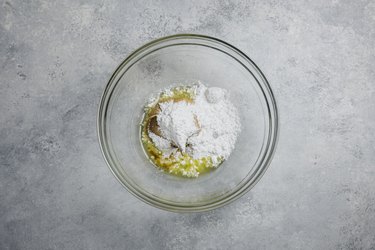 Peanut butter filling Image Credit: Kristan Raines
Tip
If you don't have ziplock bag you can also use a small spoon for the filling.
Step 4
Divide the filling among the cups. Using a moistened finger, press the filling down so that it's flat, but make sure not to press the filling all the way to the edge.
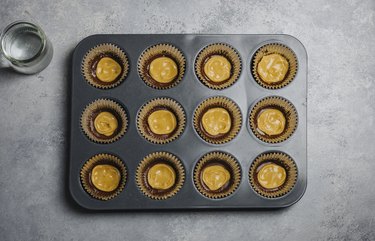 Filled peanut butter cups Image Credit: Kristan Raines
Step 5
Divide the remaining melted chocolate among the remaining peanut butter cups. Give the entire pan light tap on the counter to ensure everything is leveled. Place the cups back in the refrigerator or freezer for 10 minutes or until set.
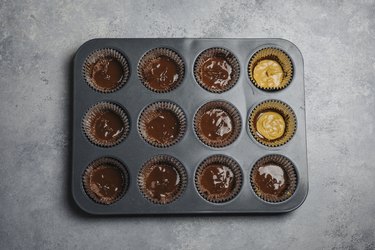 Adding second layer of chocolate Image Credit: Kristan Raines
Enjoy right away or store in an airtight container in the fridge for up to a week. Pop in the freezer for longer storage.
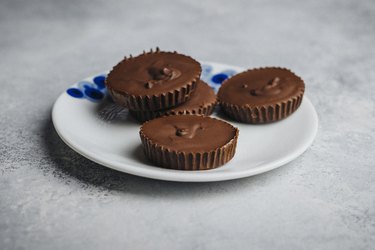 Finished Cups Image Credit: Kristan Raines
