This giant Twix Candy Bar Cake is a delicious, decadent and easy dessert to make. Not only does it look impressive, but it doesn’t take long to create and only requires 3 simple ingredients. Just look at those gooey caramel and chocolate-y layers! It’s the perfect cake for any celebration.

Things You’ll Need
-
28 ounce / 800 grams milk chocolate
-
14 ounce / 400 grams thickened caramel sauce or dulce de leche
-
20 shortbread biscuits
-
Flaked salt, cacao nibs, crushed peanuts (or other decorations of choice), optional
Step 1: Chop and melt the milk chocolate.
Grease and line a 8 x 5 inch (21 x 12 centimetre) loaf tin. Let the parchment paper slightly overhang the sides. Set aside.
Finely chop the milk chocolate and place it into a heat-proof bowl set over a saucepan of barely simmering water. Do not let the base of the bowl touch the water.

Heat, stirring the chocolate often, until it is melted and smooth. Pour the melted chocolate into a large pouring jug or measuring glass.

Step 2: Make the cake.
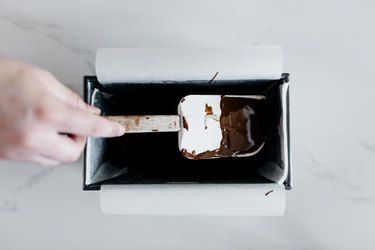
Pour ¼ of the melted milk chocolate into the bottom of the loaf tin. Use a rubber spatula to smooth it into an even layer. Set the tin in the freezer to set the chocolate until firm, about 10 minutes.
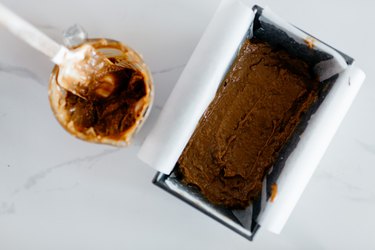
Remove the loaf tin from the freezer. Pour half the caramel sauce (or dulce de leche) over the solid chocolate base, using a rubber spatula or the back of a spoon to spread it until smooth.
Gently press half of the shortbread biscuits into the caramel layer, making sure that the biscuits evenly touch. Return the tin to the freezer and freeze until just firm, about 10 minutes
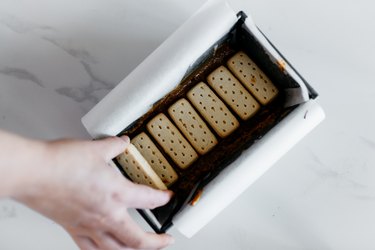
Once firm, remove the tin from the freezer and repeat the layering process above. Again, pour ¼ of the melted milk chocolate over the shortbread layer and smooth until even. Freeze until firm. Then, spread over the remaining caramel and press in the shortbread biscuits. Freeze until firm. Then, pour 1/4 of the melted milk chocolate over for a final layer. Freeze the cake until very firm, 20 minutes before glazing with the remaining melted milk chocolate.
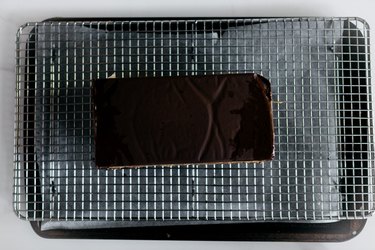
Once firm, carefully unmold the cake out and onto a wire cooling rack set over a lined baking tray. Pour the remaining melted milk chocolate over the entire cake to coat the top and sides, letting any excess drip down and onto the baking tray. Use a spoon to make a few, rough, swirl indentations on top of the cake.
Tip
At this point, while the chocolate is still soft, you can now decorate the cake with whatever you might desire!
Return the cake to the freezer and freezer until the coating is just set before slicing and serving, about 10 to 15 minutes.
Step 3: Slice and serve!
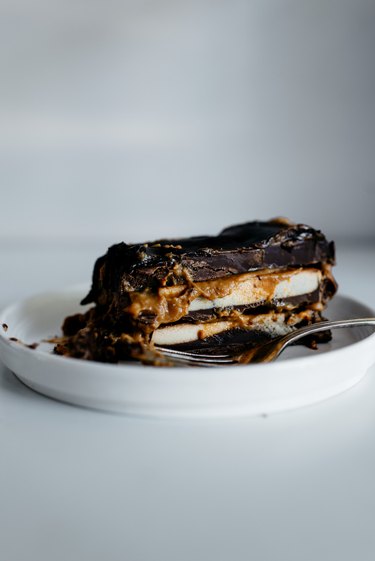
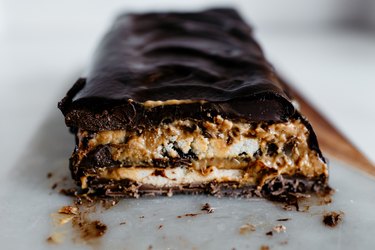
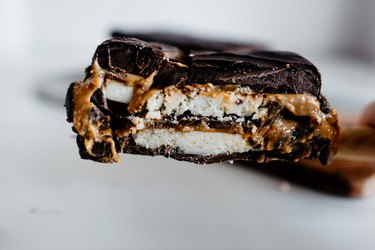
Set the cake out and onto a serving platter. Then, using a just warm knife, carefully cut even, horizontal slices. When sliced, the cake should reveal gooey, distinct and delicious layers!
Store the cake in the refrigerator for up to 5 days, or in the freezer, for up to 1 month. Let the cake come to a temperature that’s just cooler than room heat before serving.